Reed Reactor Visitor Information
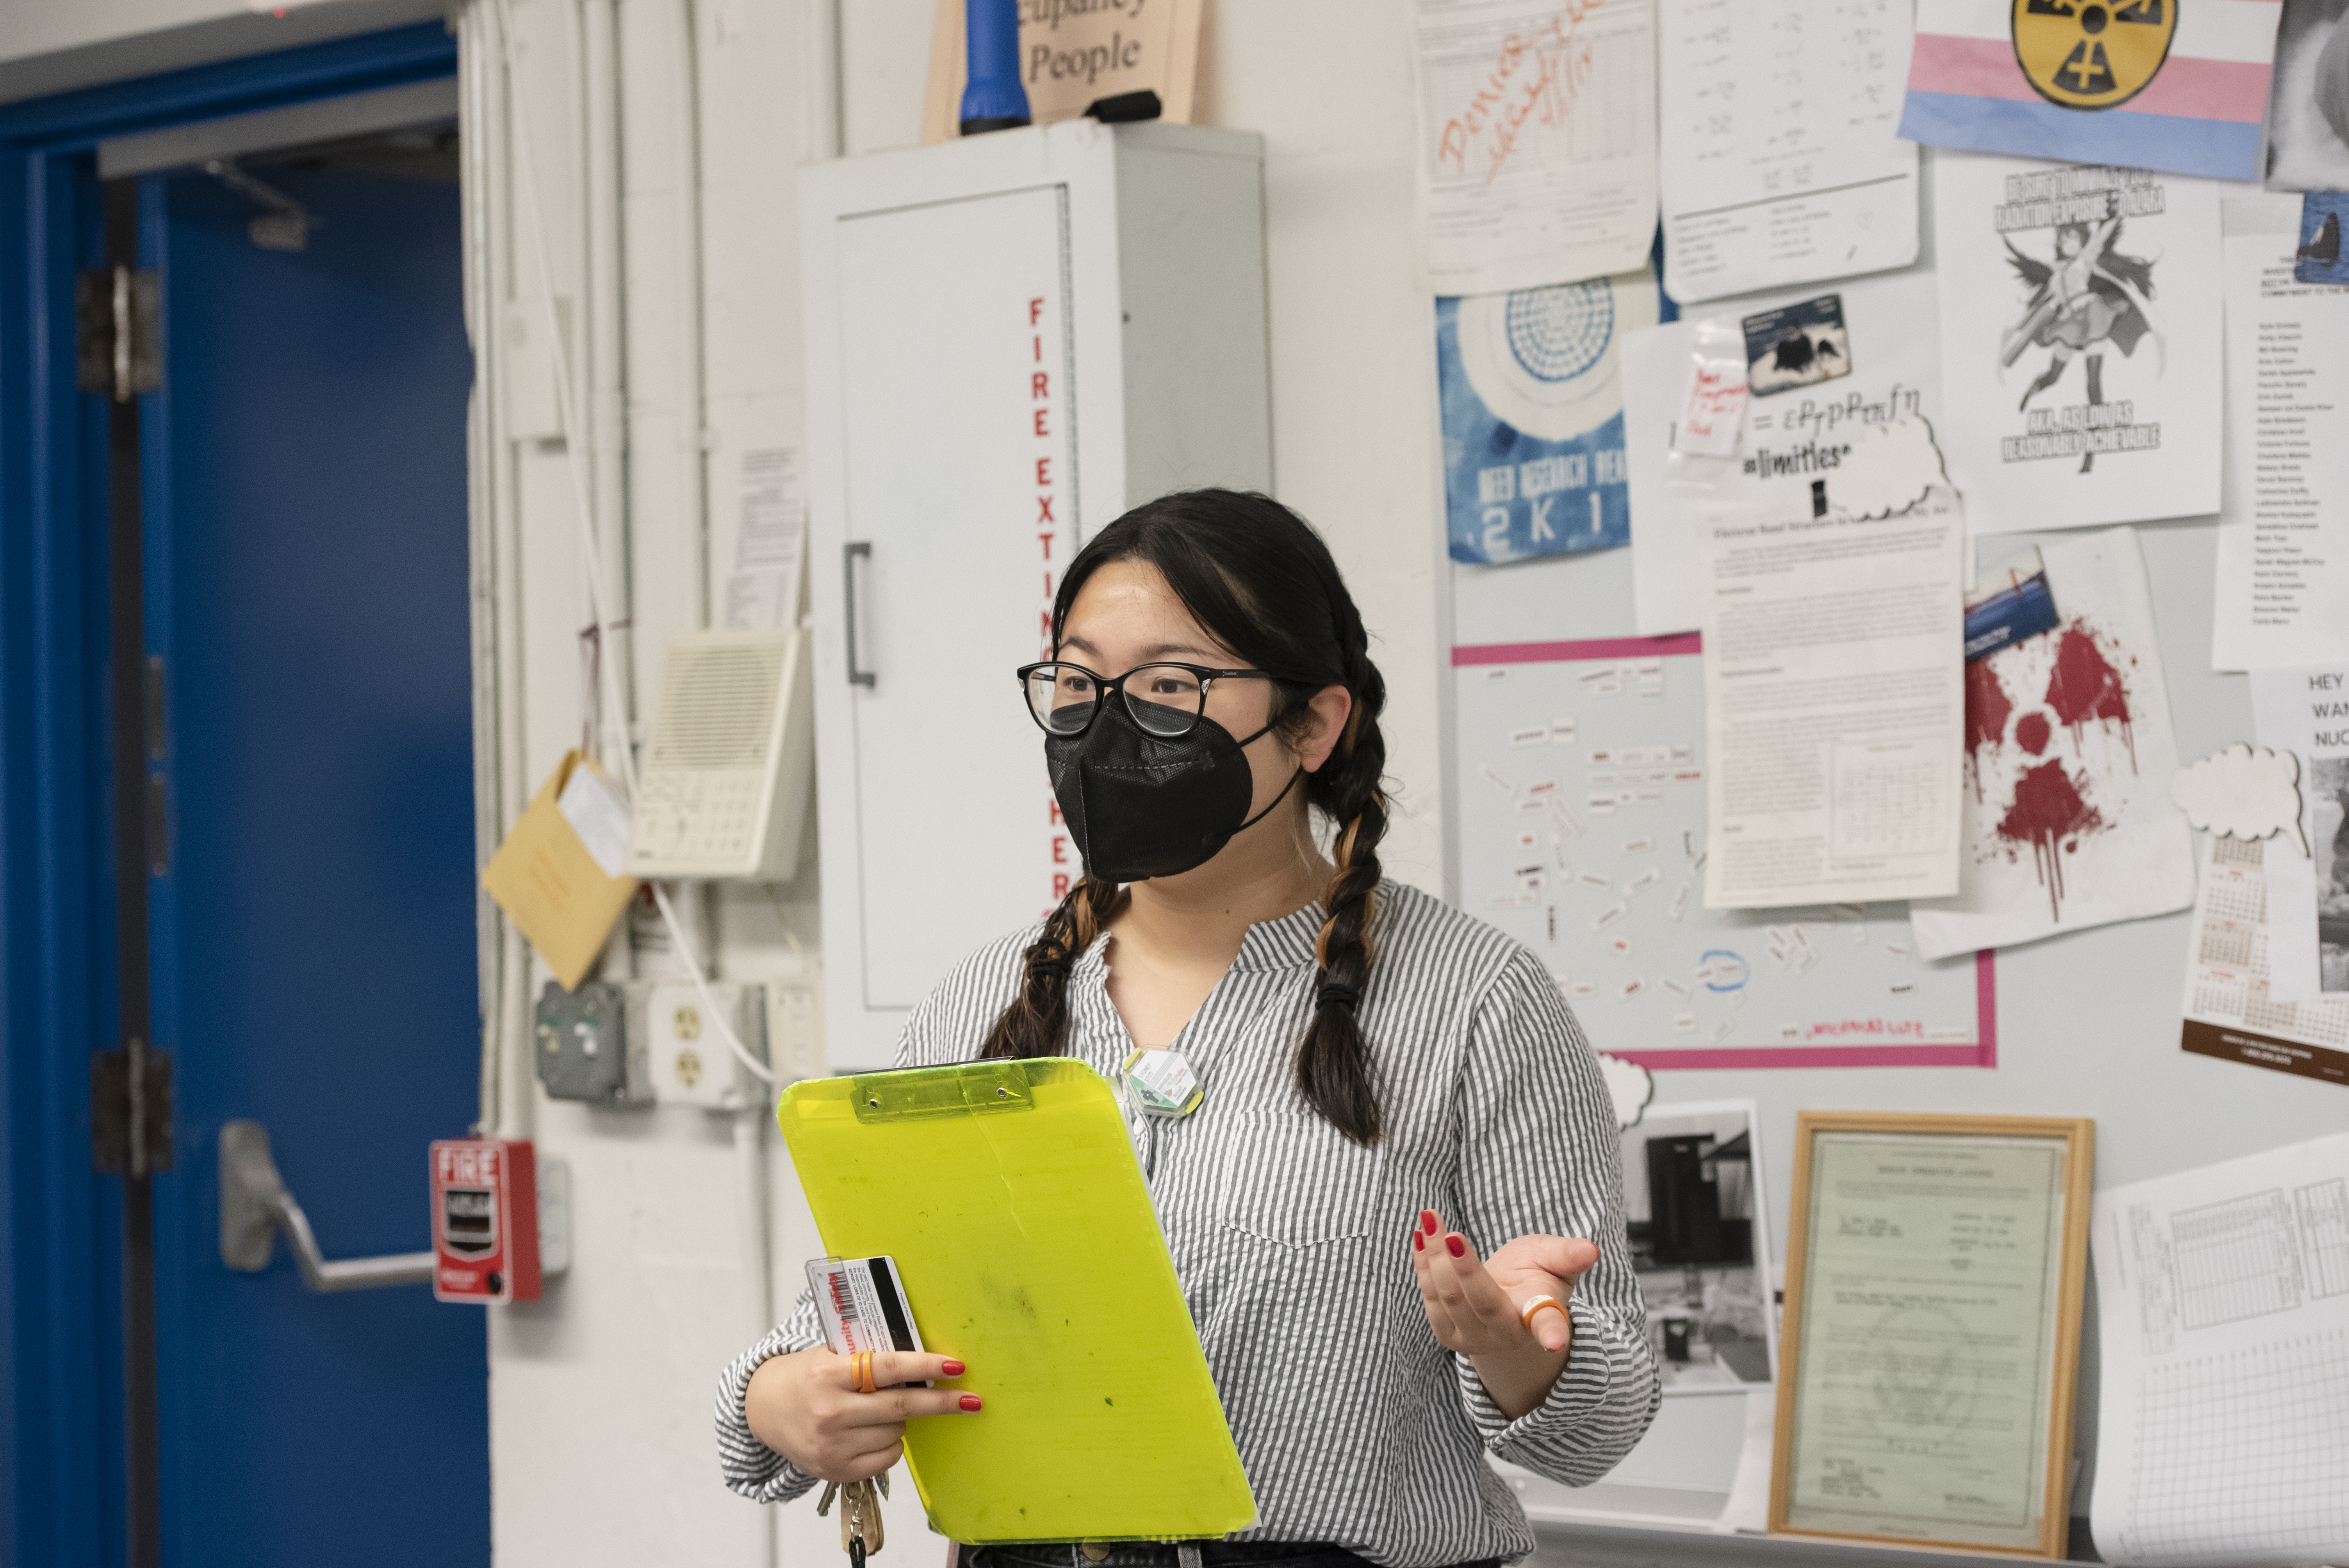
A reactor student staff member leading a tour. Credit: Reed Alumni Association
[ In-Person Visits and Tours | Virtual Tours and Activities | Labs and Demonstrations | Mail ]
In-Person Visits and Tours
Note: the Reactor facility will be undergoing maintenance starting March 31, 2025 continuing through mid-May 2025. We will not be able to host any tours in the Reactor facility during this time. If you are interested in having a modified experience elsewhere on campus (a presentation about the Reactor, a modified radiation lab, a chance for your group to talk with Reactor/college students etc.), or in having Reactor staff come to your school to give a lecture or presentation, please reach out to Toria Ellis (ellisv@reed.edu, 503-517-7858).
We offer free in-person tours and labs to educational groups. If you would like to visit the reactor for a tour and/or a lab please fill out a Tour Request Form. We will try to get back to you within 3 business days. Please give us at least a week's notice for requested tour dates, otherwise we may not be able to accomodate your tour. For more information email us at reactor@reed.edu. Note: In general, we do not offer tours to individual members of the public, groups that are not associated with educational institutions, or programs fulfilling an educational mission.
The tour lasts about 1 hour, and covers a wide range of topics, such as the basics of reactor physics, our operator training program, and the research we do. Tours can easily be tailored for many different age groups and levels of education, from about sixth graders to adults. In addition to tours, we offer a variety of labs, listed below.
We ask that you limit your group size to 30 people, and take responsibility for chaperoning any young children. If anyone in your group requires any specific accommodations (such as wheelchair access, a translator, etc.) please let us know beforehand so we can make any arrangements necessary. The minimum age for tours and labs is 10 years old.
If any member of your group is sick with a contagious or infectious disease or virus such as the flu, please have them stay home.
We meet visiting groups in the Chemistry Building Lobby. Directions to Reed College can be found here and a campus map can be found here.
When visiting the Reed Reactor:
- You will be asked to leave food and beverage outside.
- You will be asked to leave bags and heavy coats in the hallway.
- You will be asked to print your name in our Visitor Log.
- You may be asked for photo identification if you are 18+.
- You should wear closed-toe shoes.
- You must ask permission before taking photos or video.
- Your tour ends at the scheduled time; if you are late we will not be able to extend your time past the scheduled end-time.
[ In-Person Visits and Tours | Virtual Tours and Activities | Labs and Demonstrations | Mail ]
Virtual Tours and Activities
If you are unable to take an in-person tour we have a variety of videos about the reactor:
- A reactor tour video produced by a reactor student (made in 2020, 32 minutes)
- A short Popular Science video (made in 2011, 2 minutes)
- Will and Norm from Adam Savage’s Tested channel visit the reactor (made in 2012, 26 minutes)
- A Reedie Campus Close-Up about the reactor made by two reactor students (made in 2021, 6 minutes)
If you’d like to do a lab at home or in the classroom:
- We filmed a vanadium half-life lab (and worksheet) where students will plot the decay curve of radioactive vanadium and then calculate its half-life.
- We filmed a shielding lab (and worksheet) where students will analyze how well different materials shield against different types of radiation.
- UC Boulder has created a Build a Nucleus simulator where students can build their own atom and explore radioactive decay. The simulator and associated activities are free to use, although teachers/educators need to register (for free) to access the activity worksheets.
- You can calculate your background radiation dose with this online worksheet.
You can also visit the American Nuclear Society’s website where they have a large variety of classroom resources.
[ In-Person Visits and Tours | Virtual Tours and Activities | Labs and Demonstrations | Mail ]
Labs and Demonstrations
These are the labs we do most often. Labs are best suited for six to twelve students, take about 1 hour, and will be run by student staff members.
Vanadium Half-life lab
Students measure the half-life of a short-lived radioisotope. This is our most popular lab and scales well for a variety of age groups.
Silver Dime Lab (Half-Life)
This is a slightly more sophisticated version of the Half-life lab. Allow students to measure the radiation coming off of dimes, which have two simultaneously decaying isotopes of silver. Good for older groups (College and some high school groups). Please note that this lab requires more staffing than the other labs and may not be available.
Detecting Radiation
Student learn good survey technique as you get the opportunity to detect the common sources of radiation from our everyday lives. Good for younger groups (8th grade and younger).
[ In-Person Visits and Tours | Virtual Tours and Activities | Labs and Demonstrations | Mail ]
If you enjoyed your tour and want to thank our students, please address your mail to:
Reed Reactor
3203 SE Woodstock Blvd
Portland, OR 97202
USA
If you cannot mail your letter or package, you must contact the Director or ROM to arrange an in-person delivery.
[ In-Person Visits and Tours | Virtual Tours and Activities | Labs and Demonstrations | Mail ]